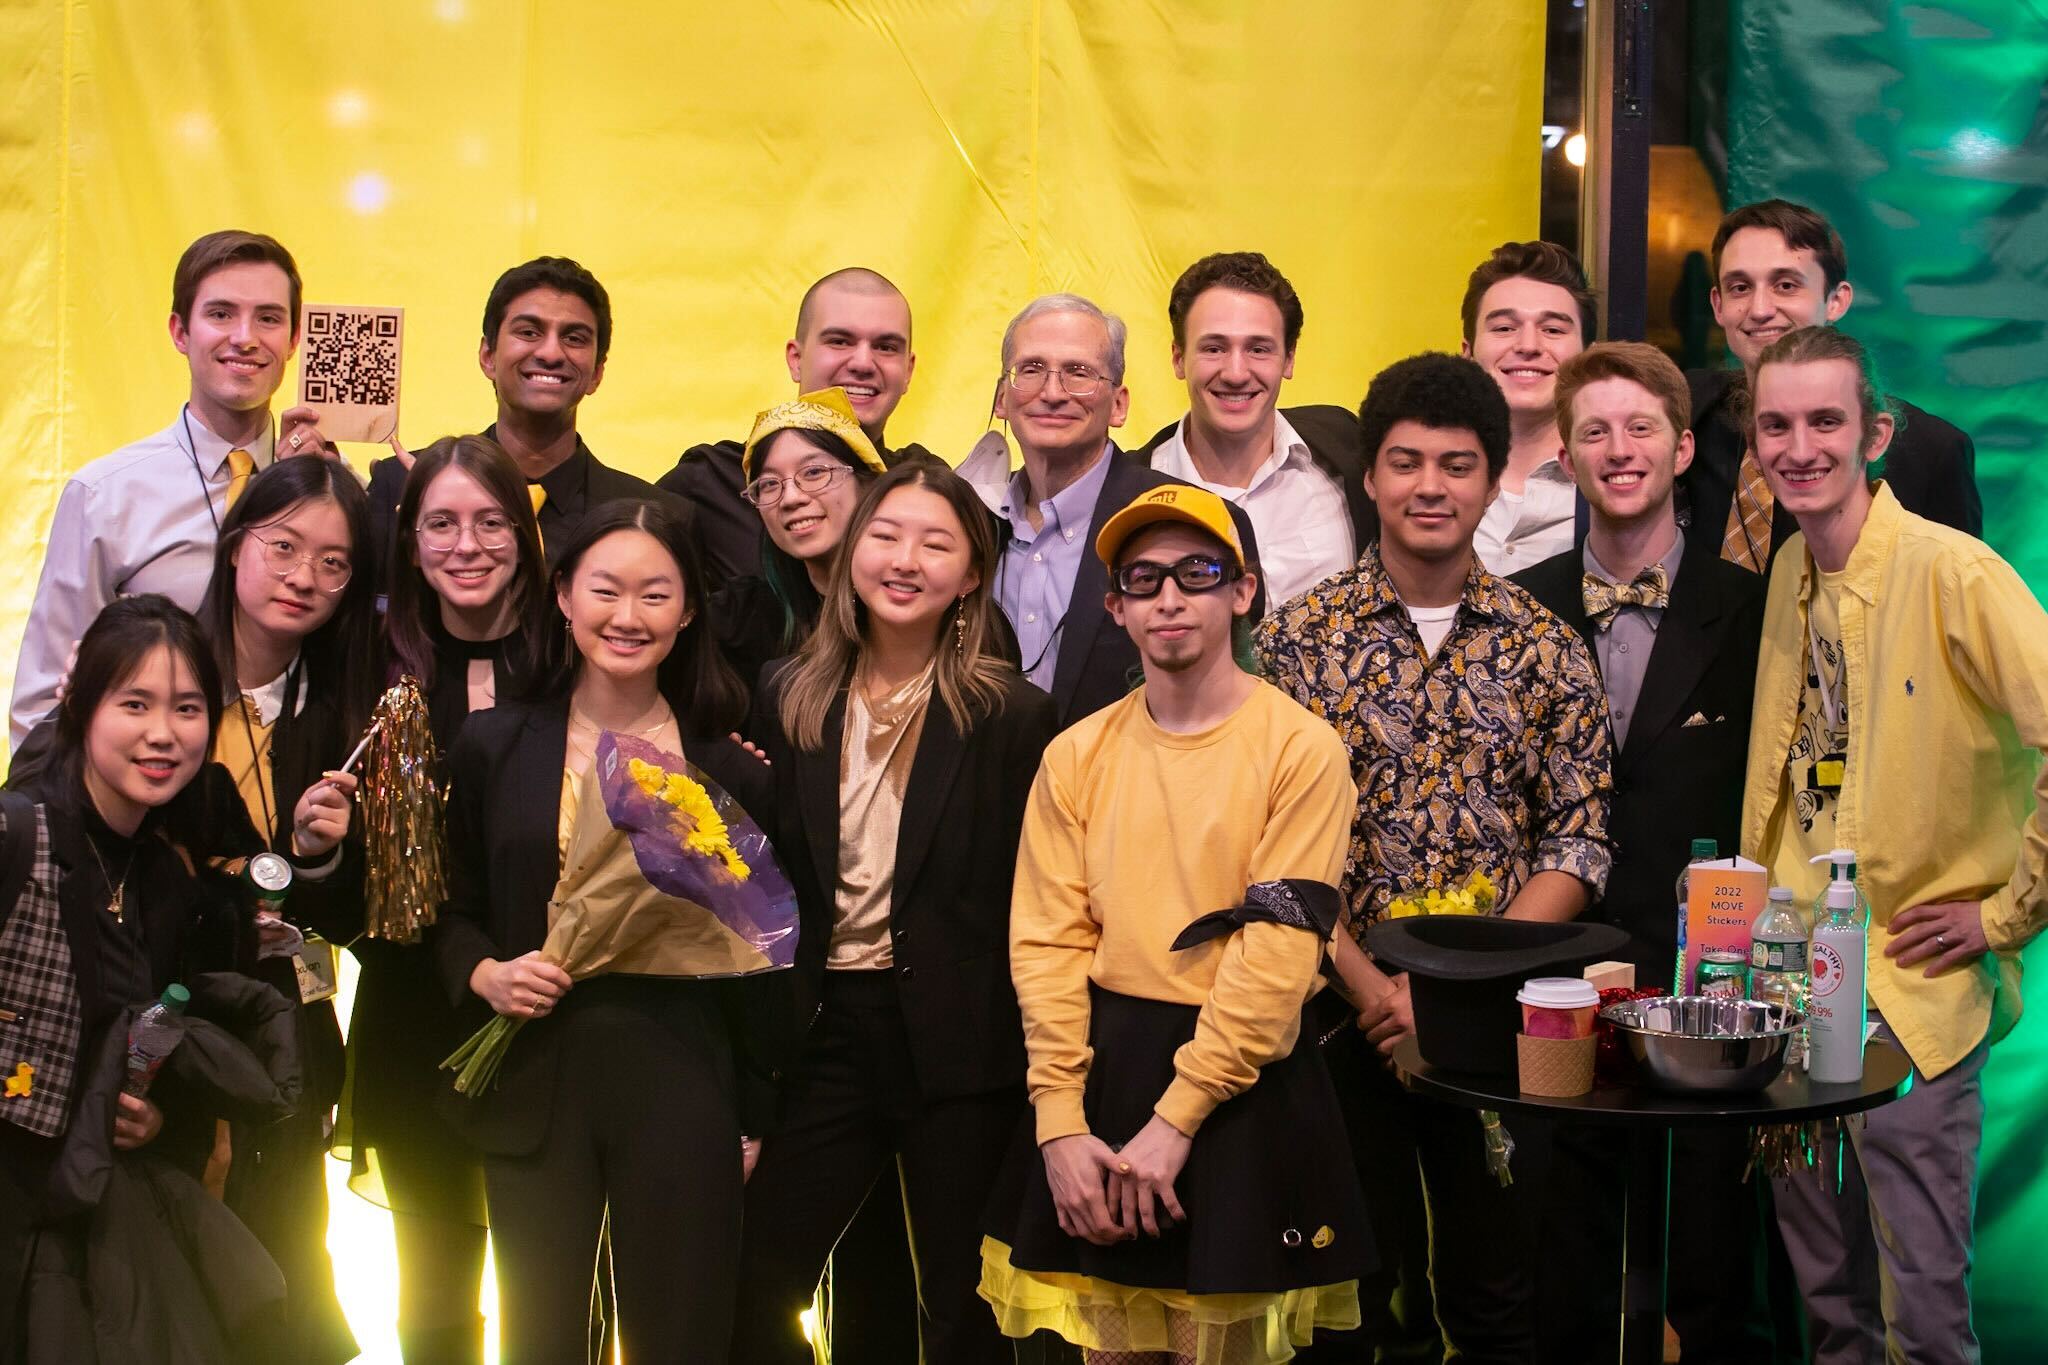
SandStill - December '22
My Senior Fall at MIT, almost all of my time near the end of the semester was dedicated towards 2.009, my Product Engineering Processes class (https://2022.2009.mit.edu/). This post covers both some fun experiences from the class and our final prototype product.
External References:
- 2.009 Website: https://2022.2009.mit.edu/
- GOLD TEAM Website: https://2022.2009.mit.edu/teams/gold/
- Final Event Webcast Replay: https://www.009move.com/webcast Gold team’s presentation is at 11 minutes and 19 seconds.
- Product Brochure: https://docs.google.com/file/d/1Y-rcbnpJKGTSna-Oeu00kk4MsUoPJrSW/view
- Quick Demo: https://www.youtube.com/watch?v=3T-w-bwp3NI
The Class Experience
First Days
The first day we had to form teams. They gave us letters that included a common dance move.
So naturally everyone started asking around for what dance each other got instead of actually dancing.
I showed up slightly late to the group because it was very confusing what color team I was assigned to because they also gave us colored envelopes, so I didn’t see when they popped open a container of yellow confetti.
The beginning of 2.009 was neat because we weren’t so busy all the time working on our final prototype.
That meant that the class had time to give us a build challenge.
The challenge was to the tallest structure made of balloons, tape, and ribbon.
An immediate idea I proposed and asked if wouldn’t disqualify us was if we could use the trees (this challenge was in MIT’s killian court).
After tying the ribbon to my water bottle and throwing it over a tall tree branch the team all came together to blow balloons, tape them together, then tape the clumps to the ribbon.
Supported by the ribbon over the branch, we pulled our tower upwards.
Other teams tried similar strategies like trying to tape to a flagpole.
Whether they saw us first or thought of it on their own, they weren’t fast enough and “yellow” team won gift cards to Toscanini’s Ice Cream.
I’m glad the team went together the following weekend. 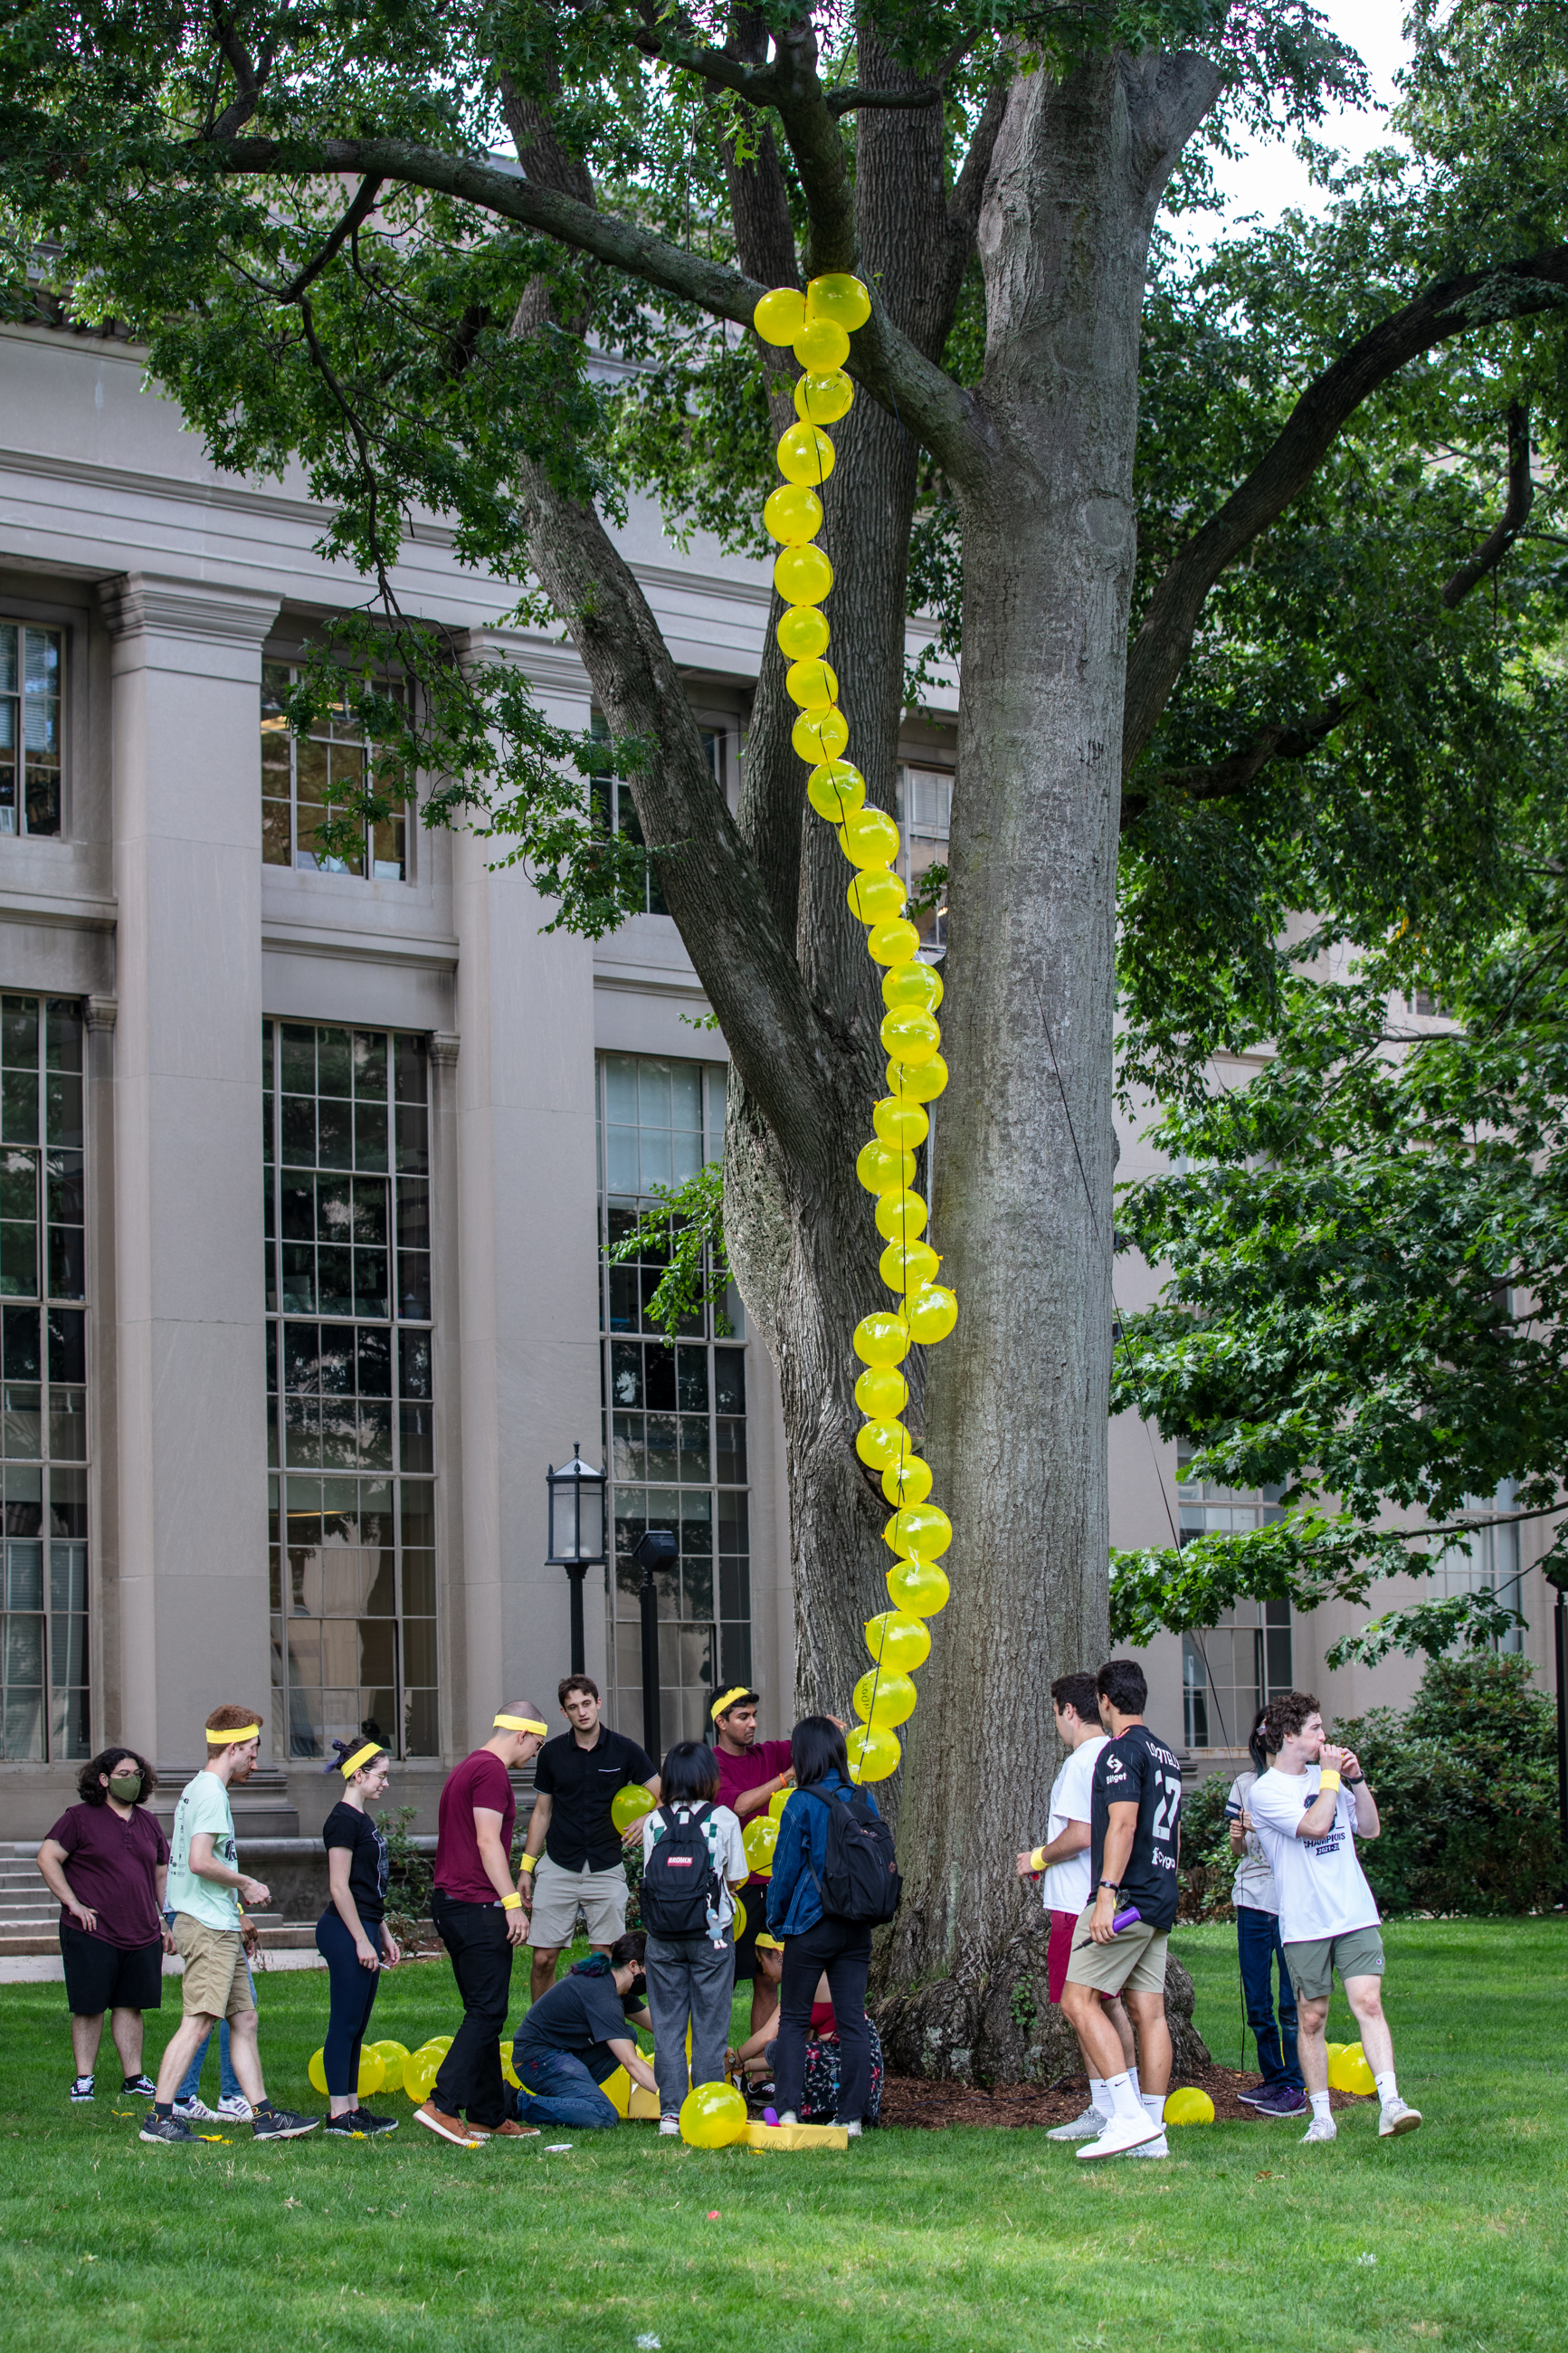
Our lab meetings were at 9am. MIT students do not like waking up before 11am. But, we quickly got along pretty well and jointly agreed to change our name to “Gold” team. From there we would only call ourselves Gold and eventually the professors acknowledged our desired and had our name officially changed to Gold. Some other teams thought we were full of ourselves, but to us it was something silly that unified and created a greater sense of team spirit that helped us work together really well.
Moving Day Build Challenge
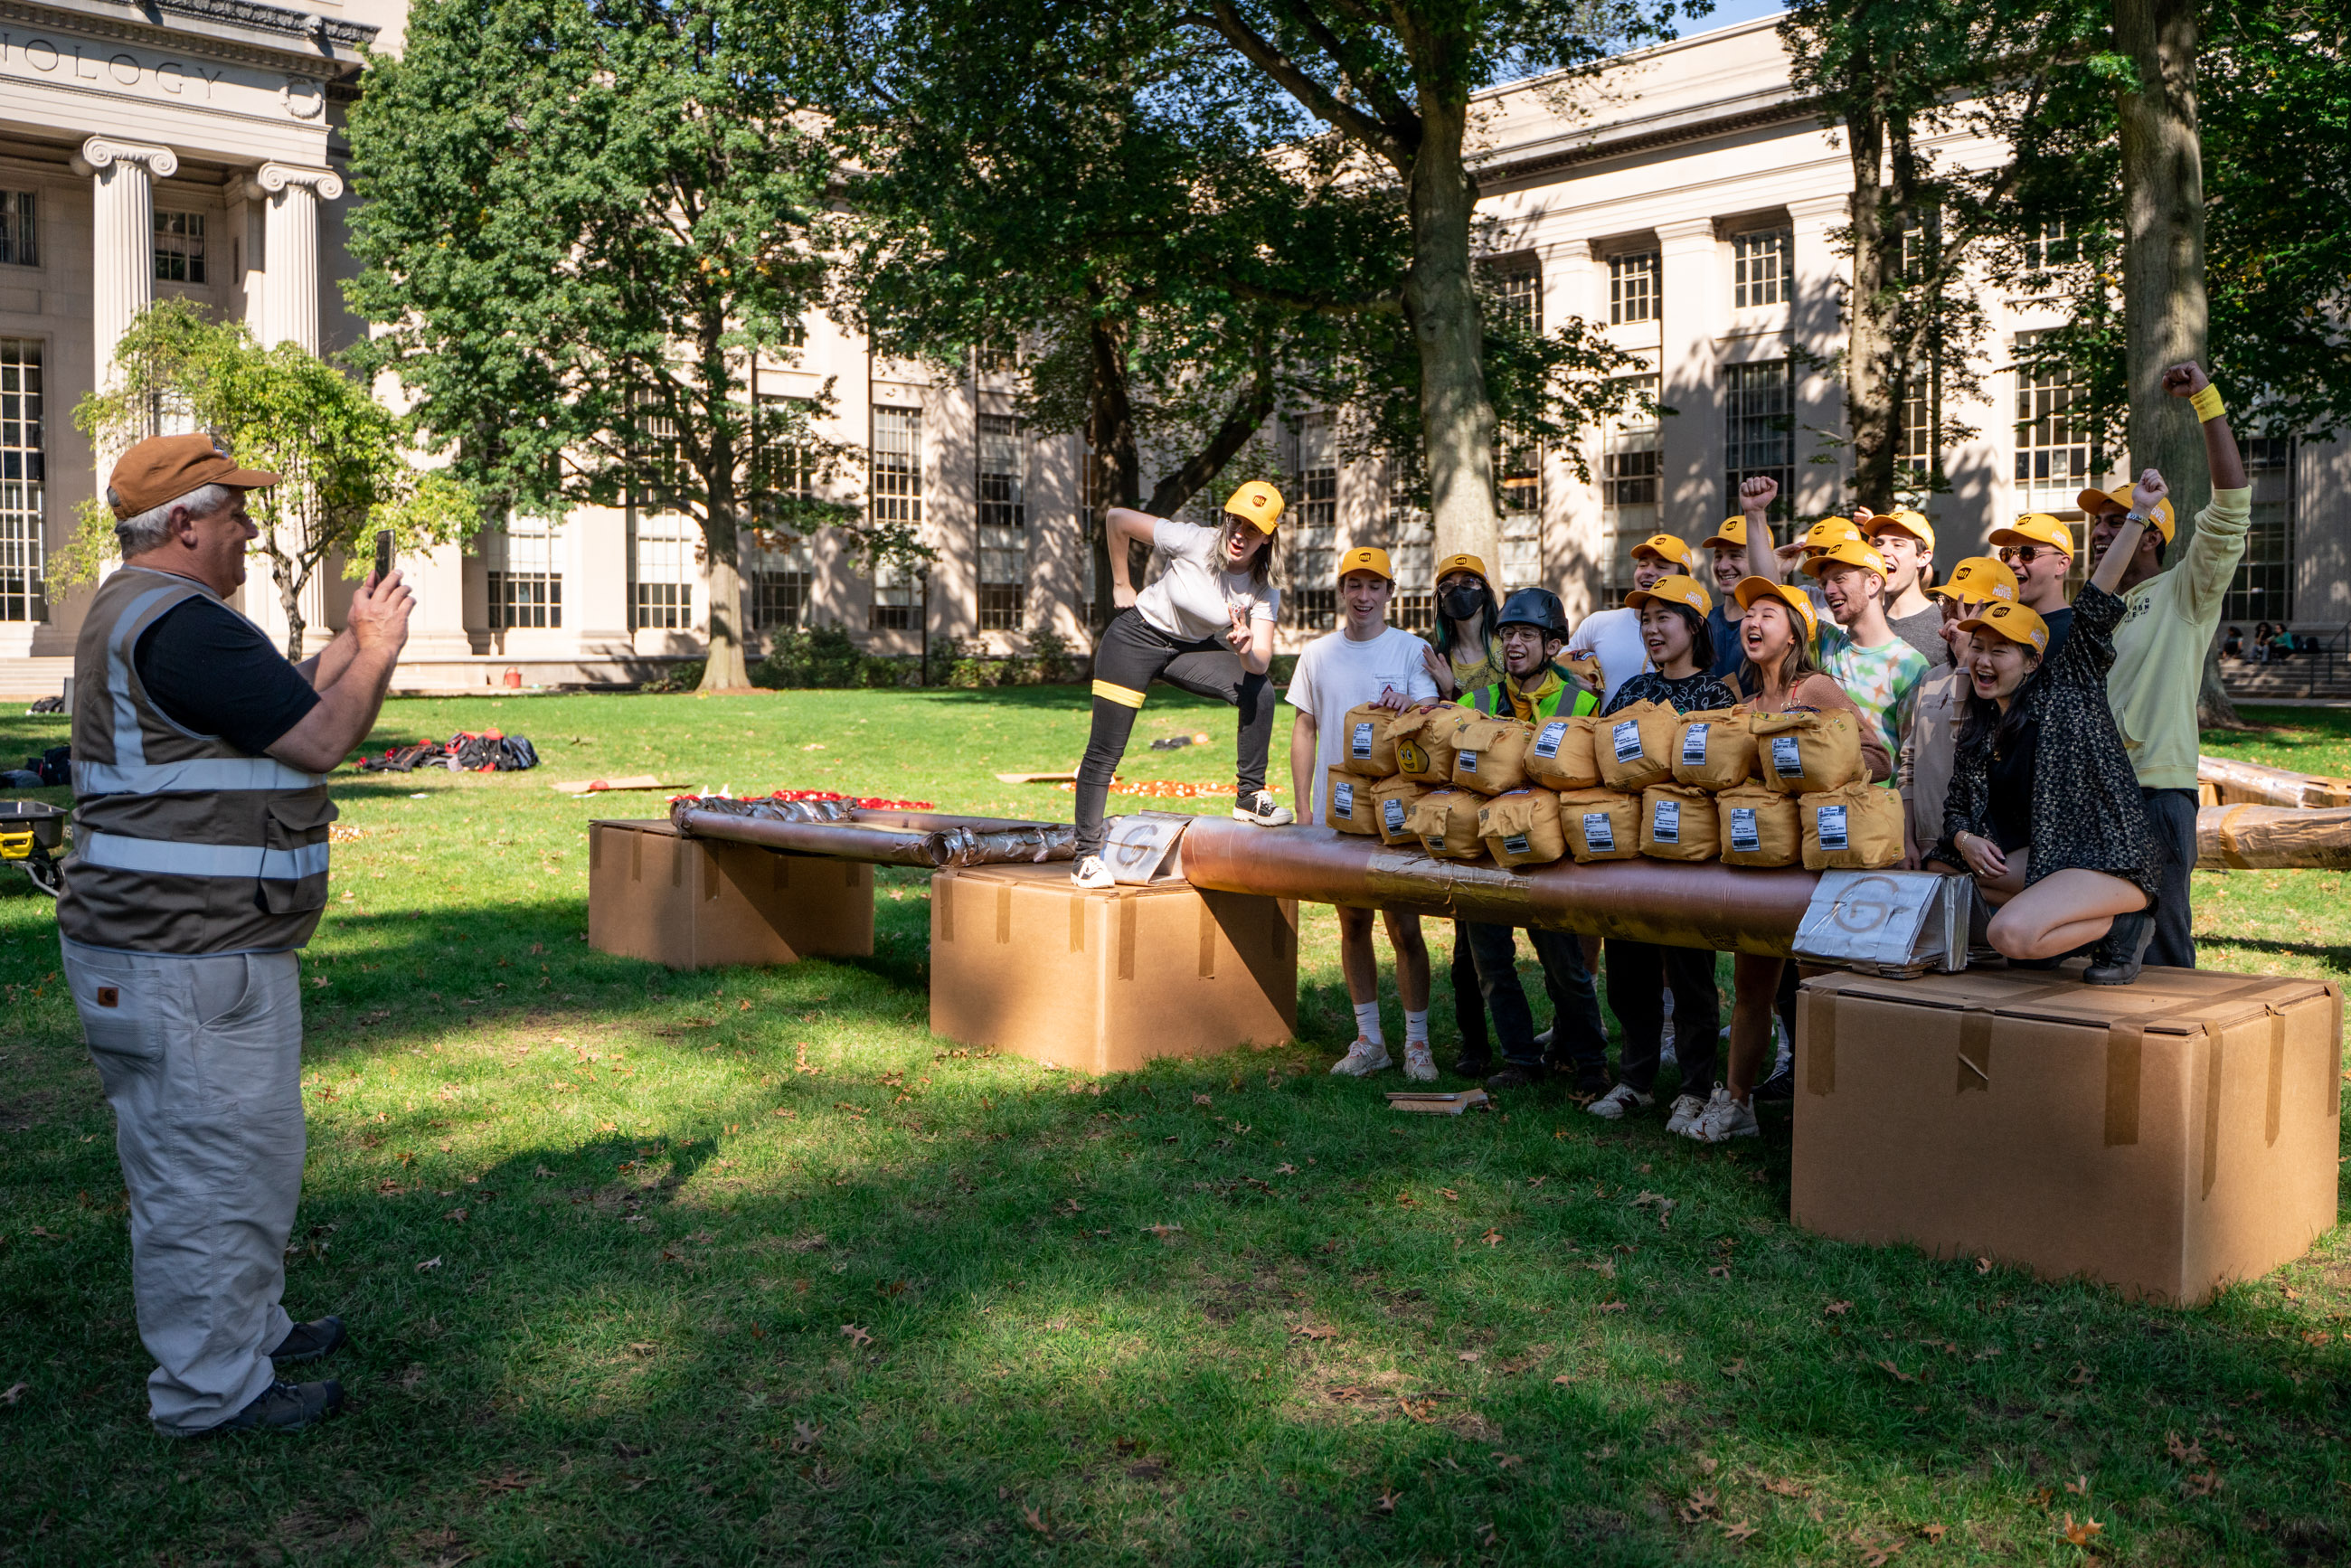
The Moving Day Build Challenge was another fun event part of the class. Given large amounts of cardboard sheets, tubing, and weak tape we had to construct two bridges that crossed a shorter span and a larger span. The bridges needed to support the weight of team members as they carried packages across. Building together was really fun! I’m super proud of what the team was able to create. The longer bridge was a very nice looking TOOOB. By placing materials inside the team made a very aesthetically pleasing solid bridge.
I came up with an idea for the shorter bridge.
It involved using the tape as a surface that transferred load to the ends.
This way instead of loading hollow cardboard tubes in the middle in bending, we loaded them axially.
Compared to all the other bridges, it used the the least amount of material and won our team the most creative bridge design. 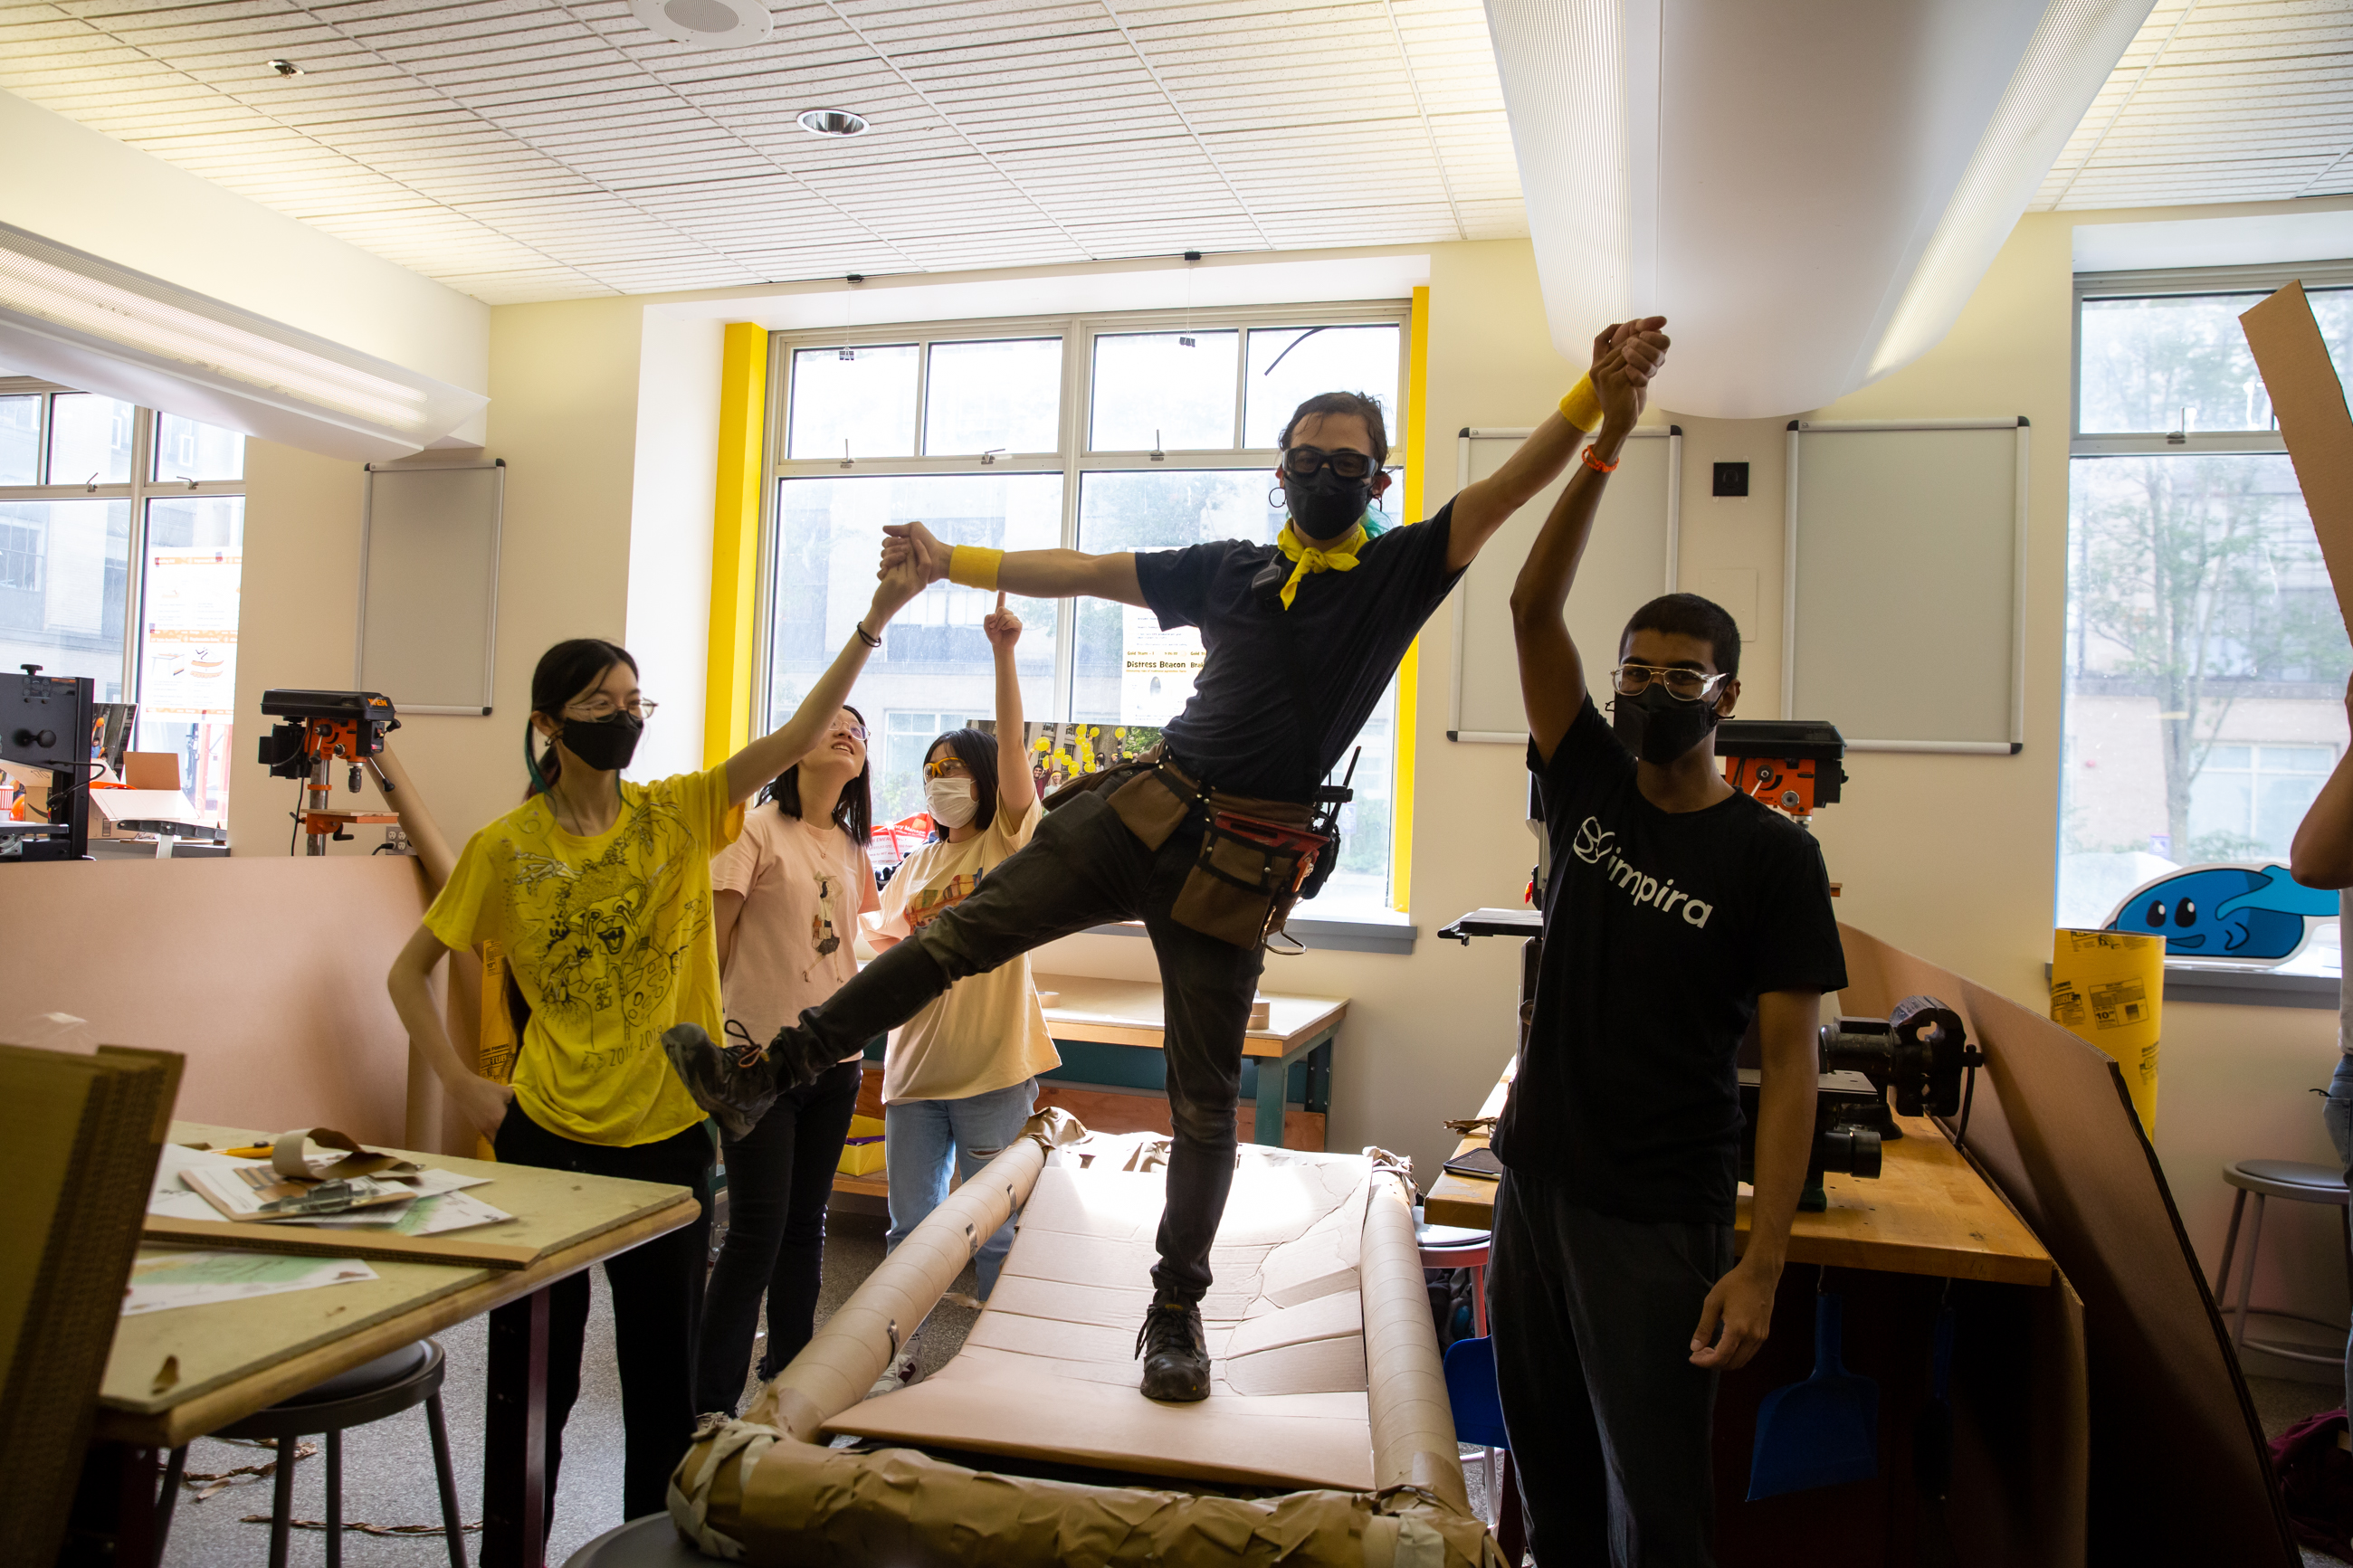
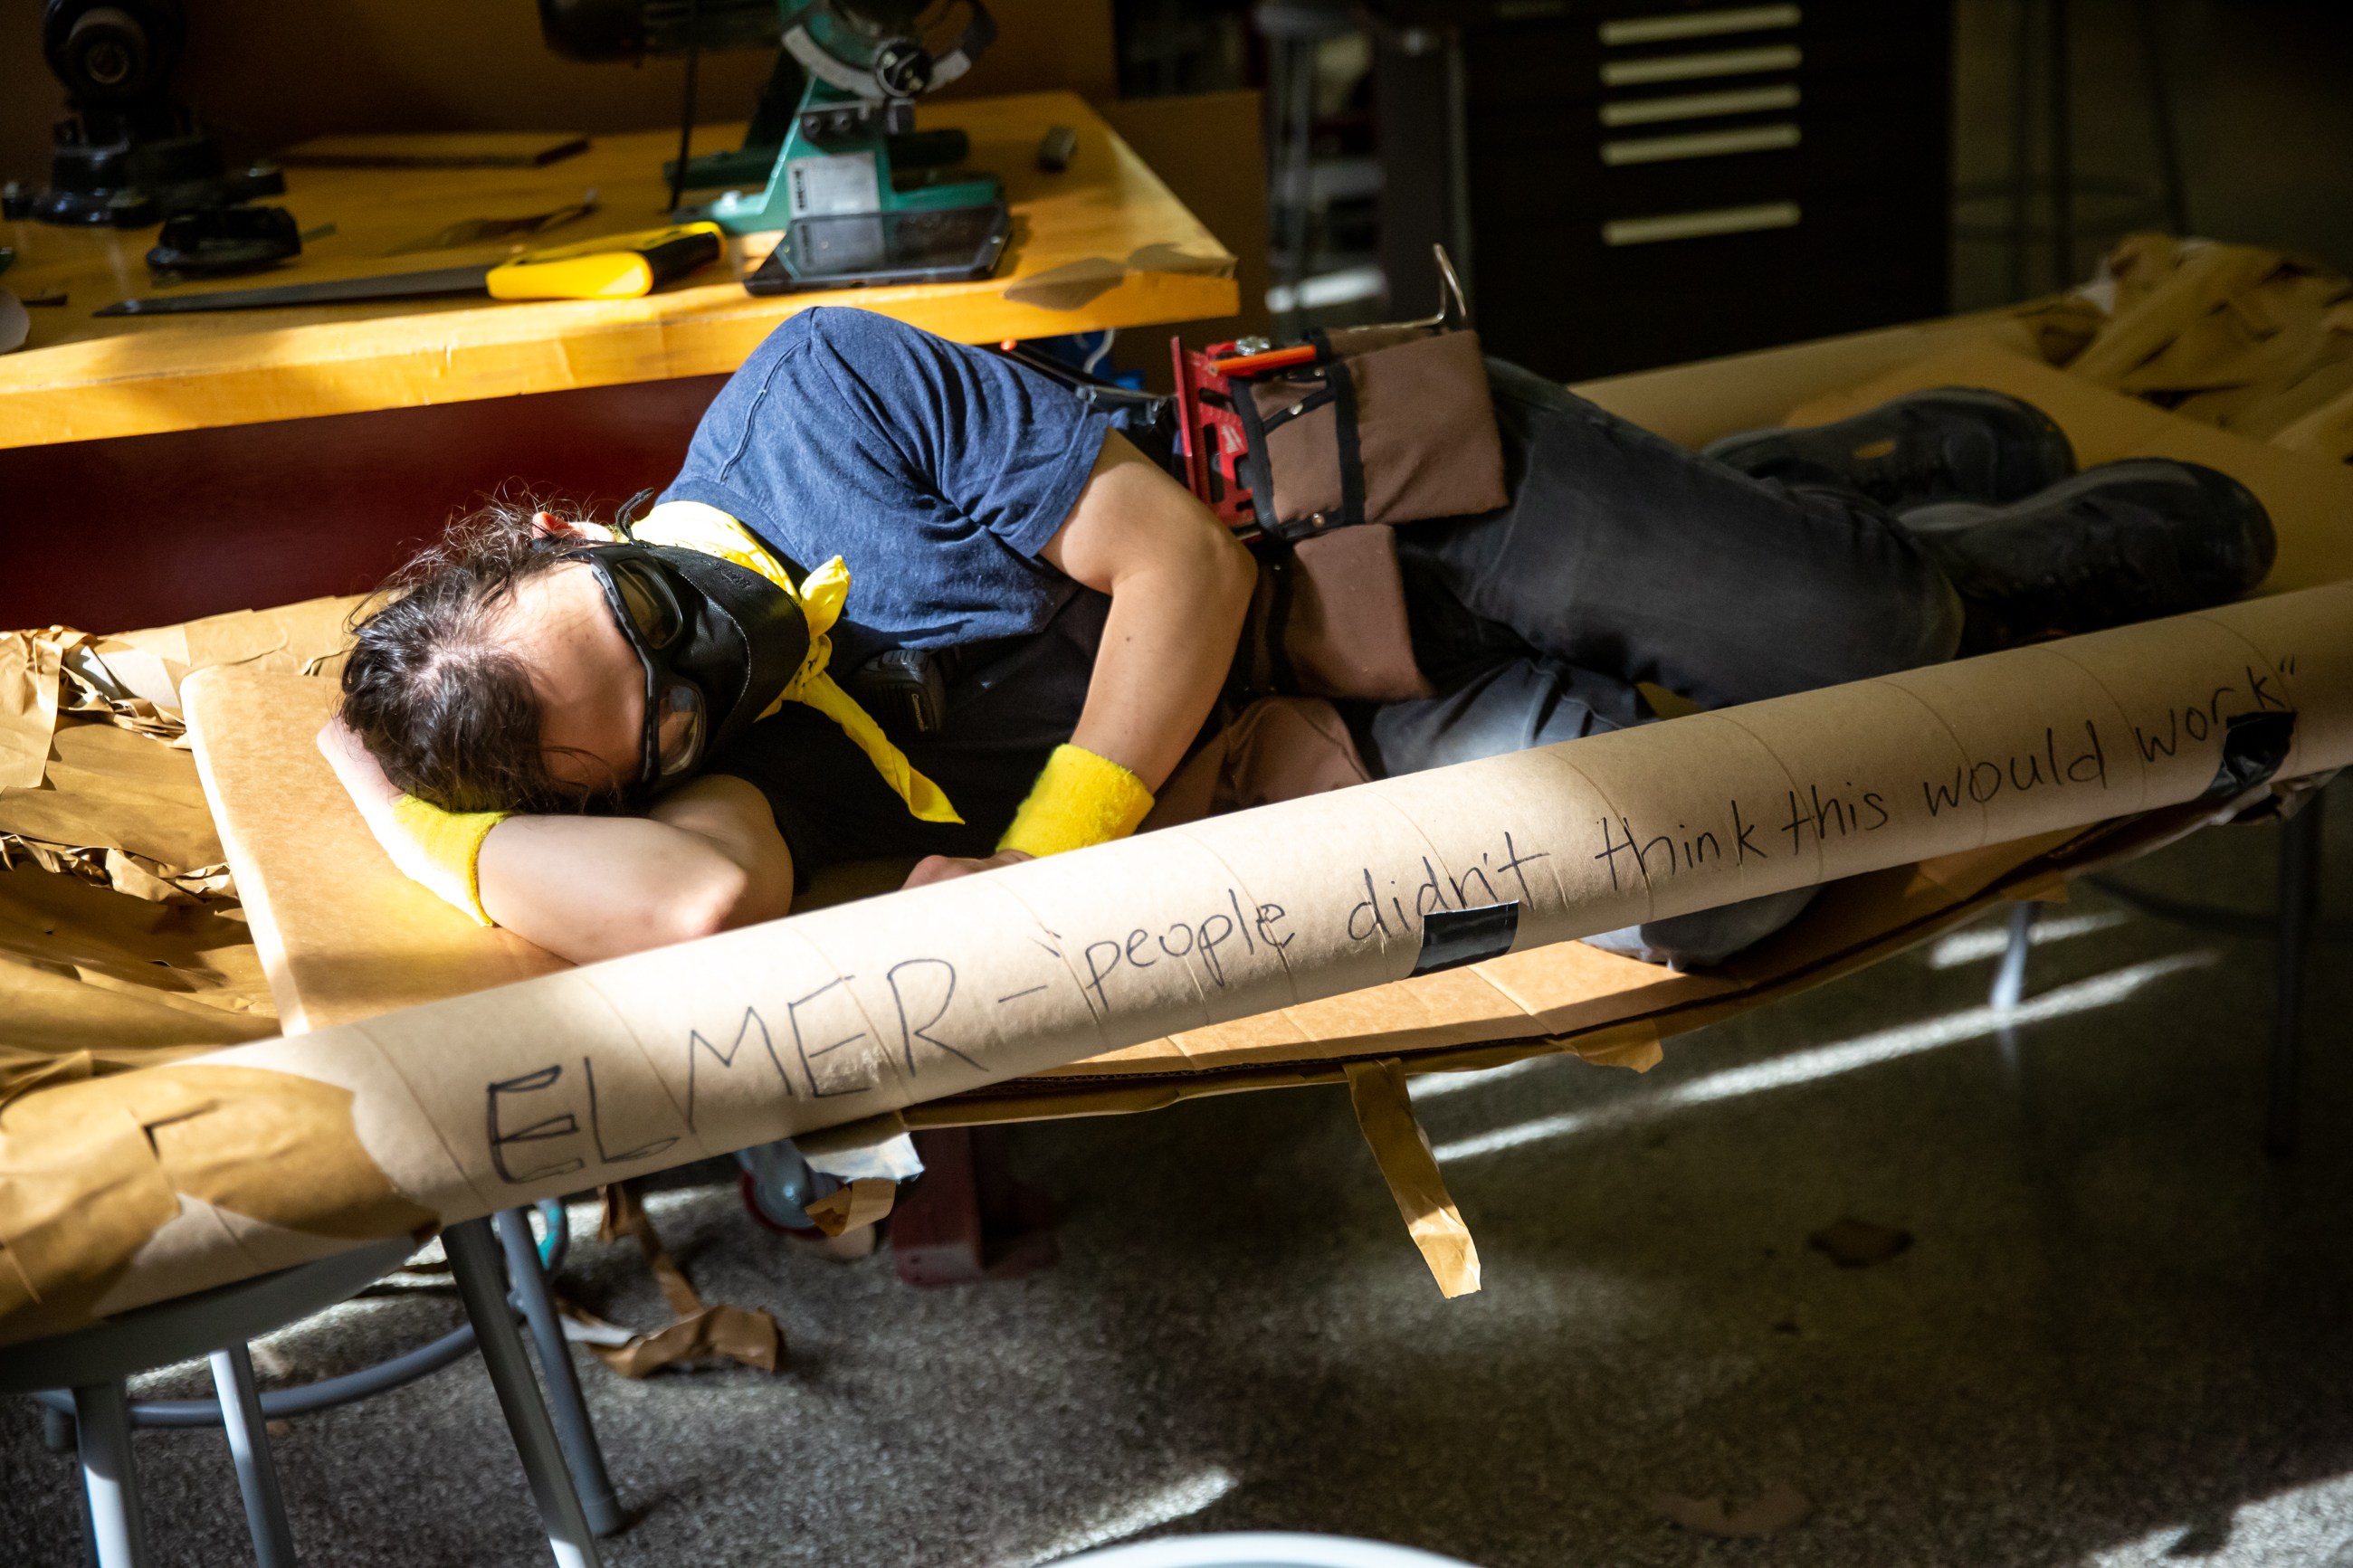
 As an award, we got given very nice mini multitools.
The only thing Gold team didn’t win in 2.009 was the actual challenge to move all the boxes across first.
Only Pink team’s bridges failed so it was primarily a race of who could cross first.
The challenge even had a whole system for “repairs” where a team member would sit in a wagon to carry more tape or material over to repair, but it didn’t end up being used other than first deploying the bridges.
Overall it was super fun! We got given UPS style caps branded with MIT and box plushies!!!
2.009 was a really great class that knew they were extremely demanding and forgave us with breaks like this. They even let us spray paint our bridges since it was fun.
The Product
There is so much I could write about the product design process. Ranging from the hours spent on ideation to creating some abominable prototypes such as a CNC compound miter saw. Unfortunately, I am quite hosed (MIT lingo for busy; “an MIT education is like drinking out of a fire hose”). Maybe later I’ll come back and write more, but at this point I want to get this blog up.
The final idea that we came up with was a Disc Sander that would stop practically immediately when in contact with fingers. This was out best idea that we thought was a significant challenge, but still feasible. It was a niche idea that was mechanically heavy in design and would help keep people safe. Afterwards we had a few people tell us they would very much like this as a product for their student shops. We also found social media posts of people’s horror stories of accidentally getting their fingers stuck in the gap or having been sanded down to the point they can’t feel their finger tips anymore.
For a lot of 2.009 teams the idea seems to be the most important aspect of the project. I feel our team did very well coming up with a project.
Overview
We called our product SandStill. It looks cool as heck.
Even as a prototype, it looks quite polished despite having an 80-20 internal frame.
SandStill basically works by modifying the sanding disc to be as lightweight as possible and to be electrically isolated from the rest of the machine/shaft.
To not compromise the disc slowing down due to lower inertia, a separate heavy disc was placed on the shaft.
A band brake and a torque limiting clutch was also installed to the shaft.
When the band brake was engaged it would stop the light inertial disc while allowing the large inertial disc to keep spinning.
The band brake was engaged using a compound lever system connected to a very strong spring. This allowed it to be reset immediately after it got triggered!
SandStill stop in about 70ms when contacted.
We think we could have gone faster, but we were advised to “cash-in” on our success for the final presentations as we’ve already done overwhelmingly well.
After the presentation we had some shop staff and professors risk their fingers on the disc. Eventually it braked the disc for the last time when the lever reset mechanism failed.
This was probably for the best to keep it forever braked and unusable as it’s stability could not be verified.
My primary contributions were electronics which included general electrical connections, sensing, and code and filters. 
Electronics
The following shows a mostly accurate chart depicting all the connections between electrical components.
Overall I’m very happy with the organization and proper methods we used to make all the connections.
We had many components connected through JST connectors and WAGO terminals.
We also made sure that all stranded wire had ferrules!
Working in the lab was very entertaining.
Although it was difficult to find general electrical components.
I ended up using the wagon from the Moving Day Build challenge to cart around my electrical toolboxes and other tooling I regularly used.
At one point I used the wagon to bring in my slushie machine to share with the team which the team thought was absurd and entertaining.
I enjoyed taking good care with the electronics and code ensuring that there were measures in place to prevent the motor from running while the band brake is applied amongst other checks. 
Sensing
Getting sensing to work was a roller coaster. A different team member who was working on the disc sander (while I was working on making a CNC Miter Saw), used an off the shelf component from Adafruit to prove that we could at least sense a finger through the layer of non conductive sandpaper. The sandpaper being non conductive proved to be a major problem for us to solve and regularly made sensing difficult. From there we ran into many challenges. One of the challenges was electrically isolating the disc to the rest of the machine. If there was electrical conductivity, any part of the machine would detect touch and trigger our brake mechanism. This was mostly handled by other team members, but getting a carbon brush to reliably make contact proved to be difficult. A very happy-after-the-fact moment occurred two days before final presentations at 4am when isolation wasn’t working. The electrical connection was extremely spotty and would sometimes work and sometimes not. It had turned out that other members decided to clean the part earlier in the day and when putting it back together got water in between screw threads and plates. After drying it worked great.
The most significant challenge was getting sensing to work reliably and as fast as possible. It consumed so much of our testing time. When it was time for our technical review, our sensing was very dysfunctional and many judges thought that we had gone through a regression even. I think our team instructor got mad at them and stood up for us having understood how much we had gone through. Later on for the final presentation we would end up proving them wrong! Anyways, we tried many preexisting solutions to sensing such as premade boards from hobby suppliers. What turned out to be most stable for the longest time was using the Capacitive sense Arduino library that essentially would measure the time it would take for the voltage of a pin to change that was connected to whatever you wanted to sense from. This works really well when you’re trying to sense from something metal. Unfortunately for us we had non conductive sandpaper in the way. To get accurate sensing we would have to take a long average which made our sensing really slow. Sometimes on the order of a full second. On top of this, how long it would take us to process depended on the capacitance as we were taking a measurement on how long it a pin took. At one point we were very demoralized and create the argument that it could be made better in the future, but was not going to be a significant feature in the prototype as it would have false positives constantly and not detect sometimes. We concluded that we were just detecting an initial static discharge instead of actual capacitance. Our savior was a friend in the MIT Radio Society Student Club and their general work/hangout meeting time. I would go Friday nights to hang out and de-stress and one day we discovered a circuit that would use capacitance as negative feedback to an op-amp oscillation circuit found here: https://gasstationwithoutpumps.wordpress.com/2012/07/12/capacitive-sensing-with-op-amps/
This circuit was an instant solution for us. It works by slamming the rails of an op amp repeatedly creating a triangle wave signal.
Extra capacitance on the negative pin made the oscillation slightly slower.
For example, untouched the opamps would oscillate at about 70kHz, and this would drop to 40kHz when the pin is touched.
By using a microcontroller as a frequency counter, we could now take non time-coupled data in the form of [counts]/[time]. 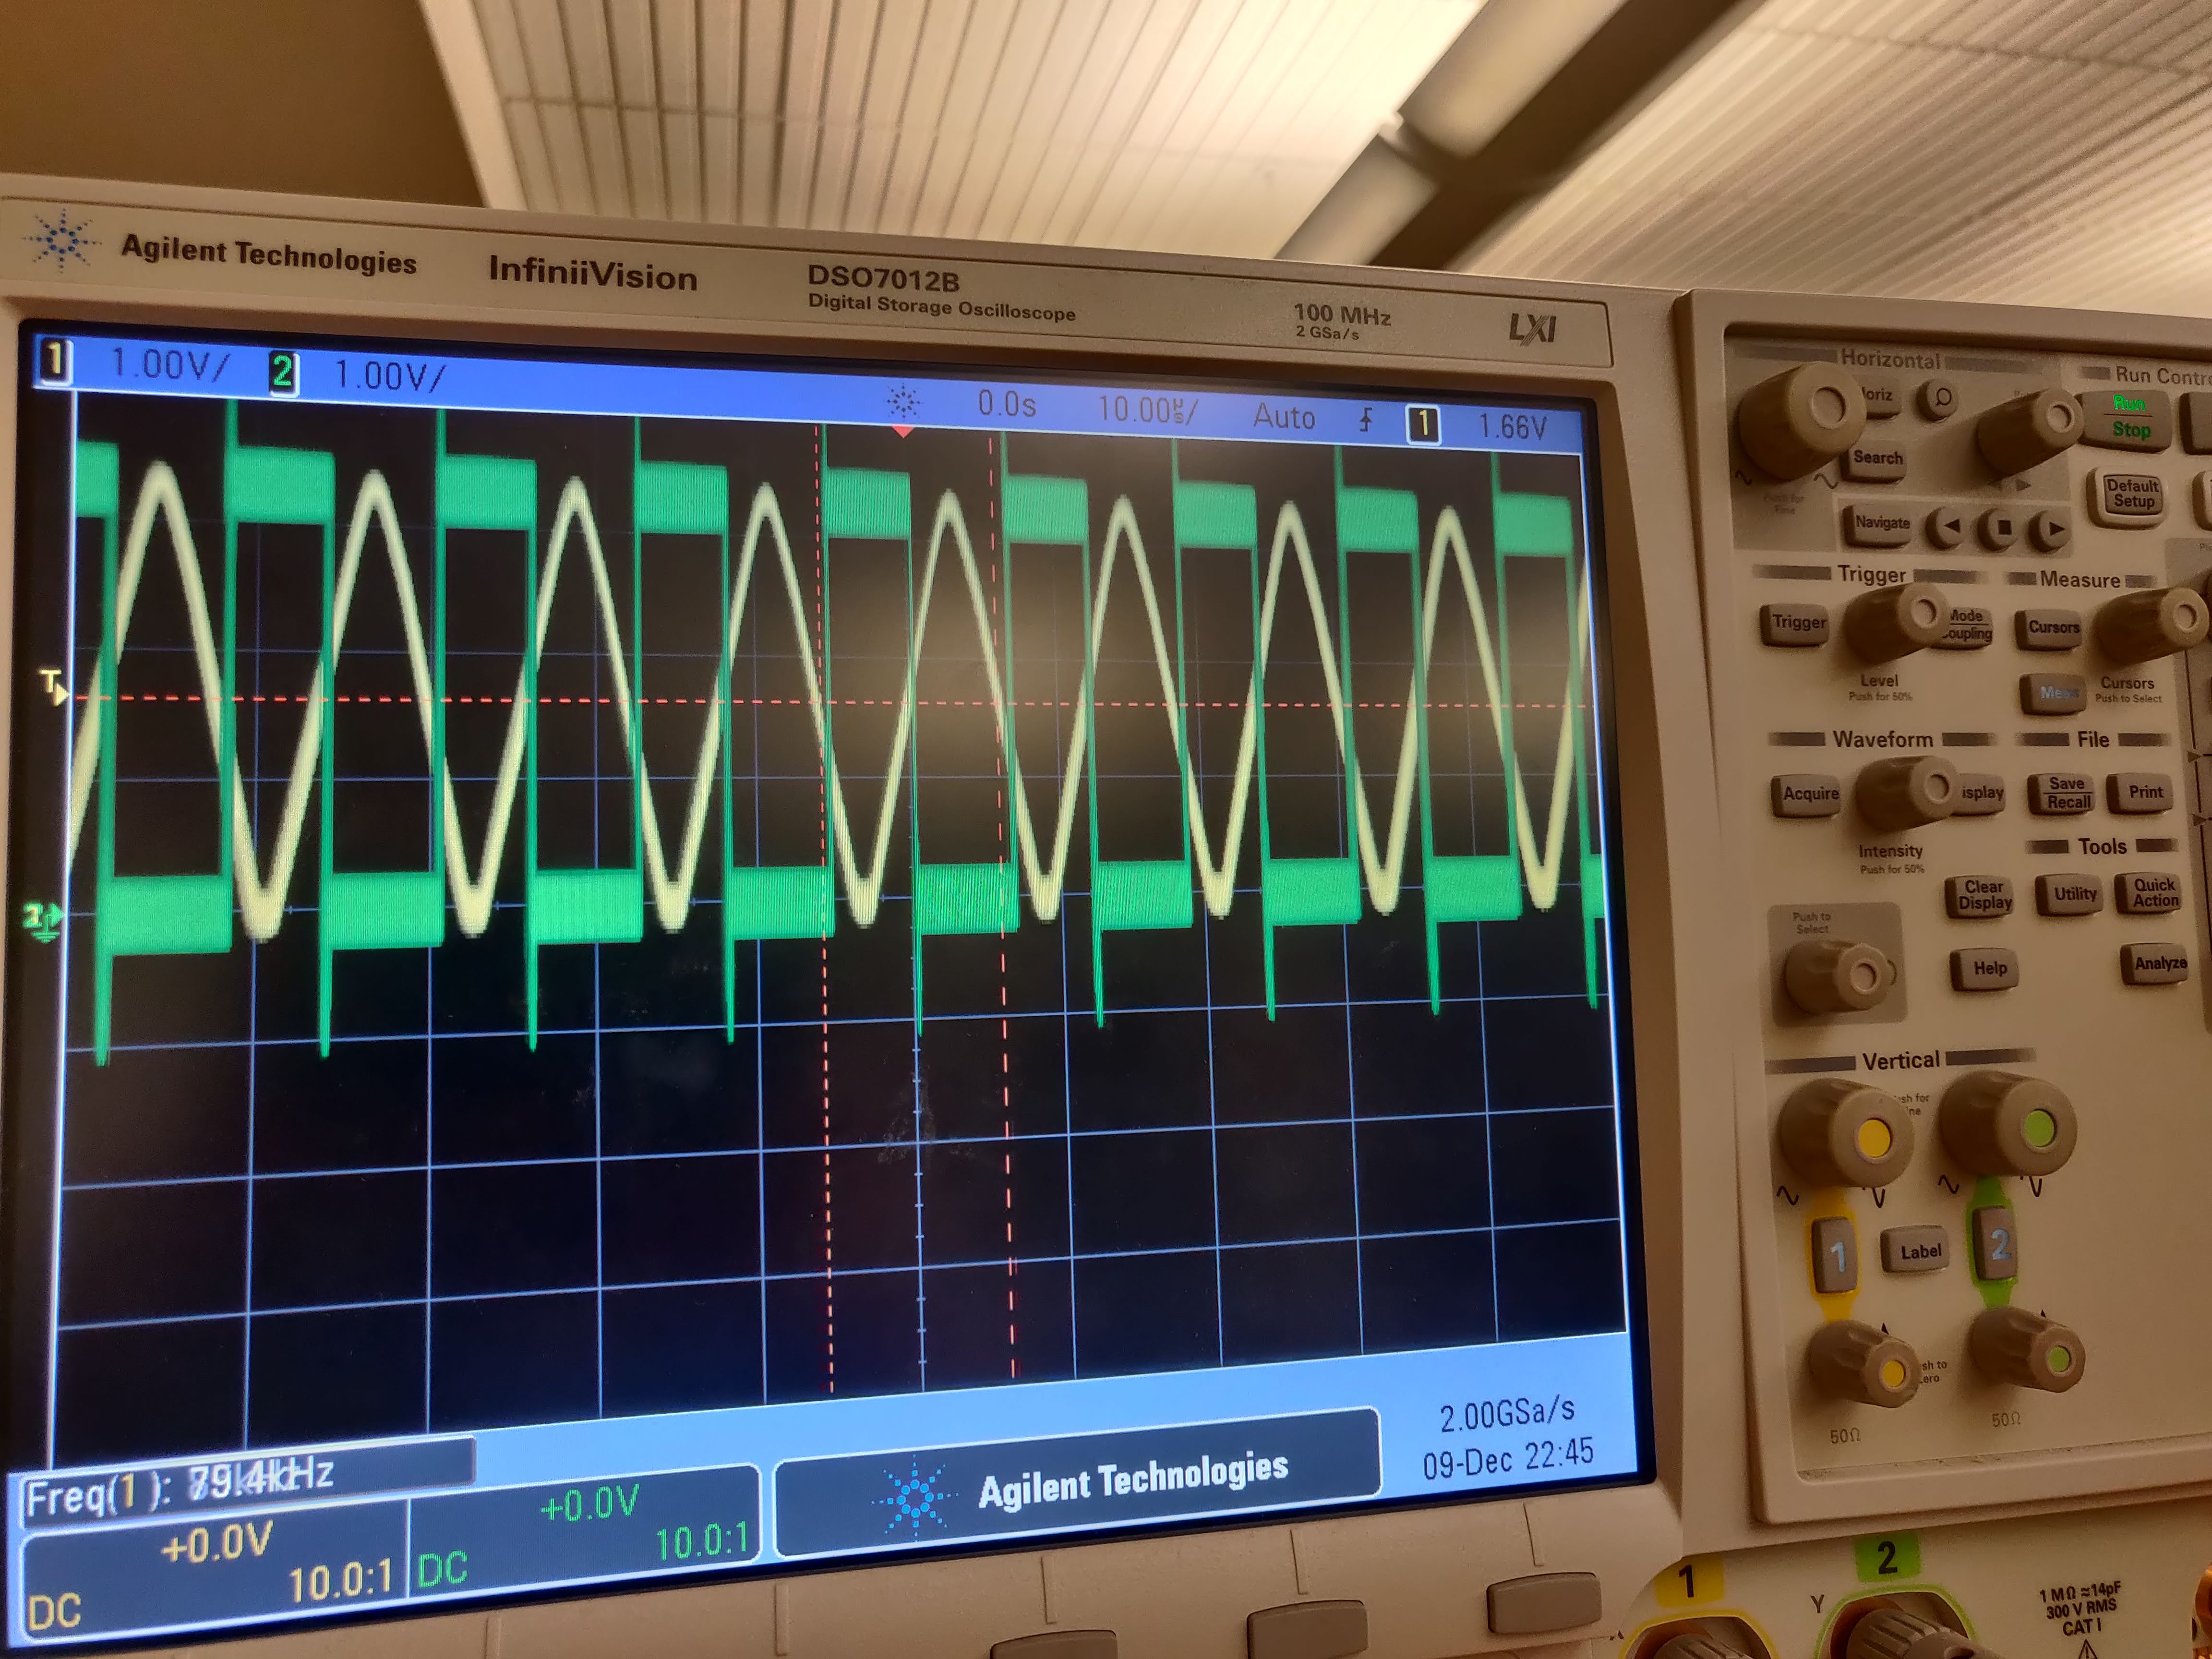 The data was amazing!
We could even detect hands just approaching the disc.
Using higher quality op-amps, I was able to push the signals to be about 400kHz untouched and 160kHz when touched.
All of a sudden about a week before the final presentation, we could detect extremely fast and very reliably.
The simple filter I ended up writing was a band pass filter.
It rejected high frequency noise, but also rejected very low frequency changes that would come from humidity and other environmental changes affecting capacitance.
Because it was a bandpass and we were also measuring approach, it was able to be tuned such that fingers were allowed to approach slowly, while an hand or head-sized object approaching fast would trigger the brake before contact even.
More capabilities that the machine had is that by disabling the safety mechanism for a little bit when making contact with metal via a foot pedal for example, it was possible to sand metal as the machine set it’s “base level” to capacitance of holding metal, but would still trigger very fast any changes in capacitance such as the situations described above.
Working with this analog circuitry was a crazy fun experience and I’m so proud of what I could contribute to the team and I’ll remember my time in 2.009 and my teammates very fondly.
Acknowledgements
Thank you to class instructor Ellen; team instructor Rich; Jordan, our team’s TA; and Pappalardo shop staff for being especially supportive.
Thank you teammates for your continued efforts, enthusiasm for the project, and late nights spent debugging. 